Hey hey crochet lovers. I’m so far behind with my blog posts that I still haven’t shared some of the critters I crocheted back in March, let alone what I’m up to now! I’m determined to get bang up to date though, so first step on the journey is to introduce you to the pink delight that is Hoppip.
This second-generation grass type was a delight to make a delight to look at too. Any Pokemon with a largely circular body tends to whip together pretty well, and Hoppip was no exception. The only more complicated aspect here was introducing some wire to his helicopter leaf blades to make them extra perky. A little bit of twisted jewellery wire did the job but it does make this one unsuitable for kids.
If you are new to crochet or want to get started making crocheted Pokemon then I would recommend Sabrina Somers’ patterns. I’ve done a few now and they’ve all been easy to follow and true to the look and dimensions of their intended monsters.
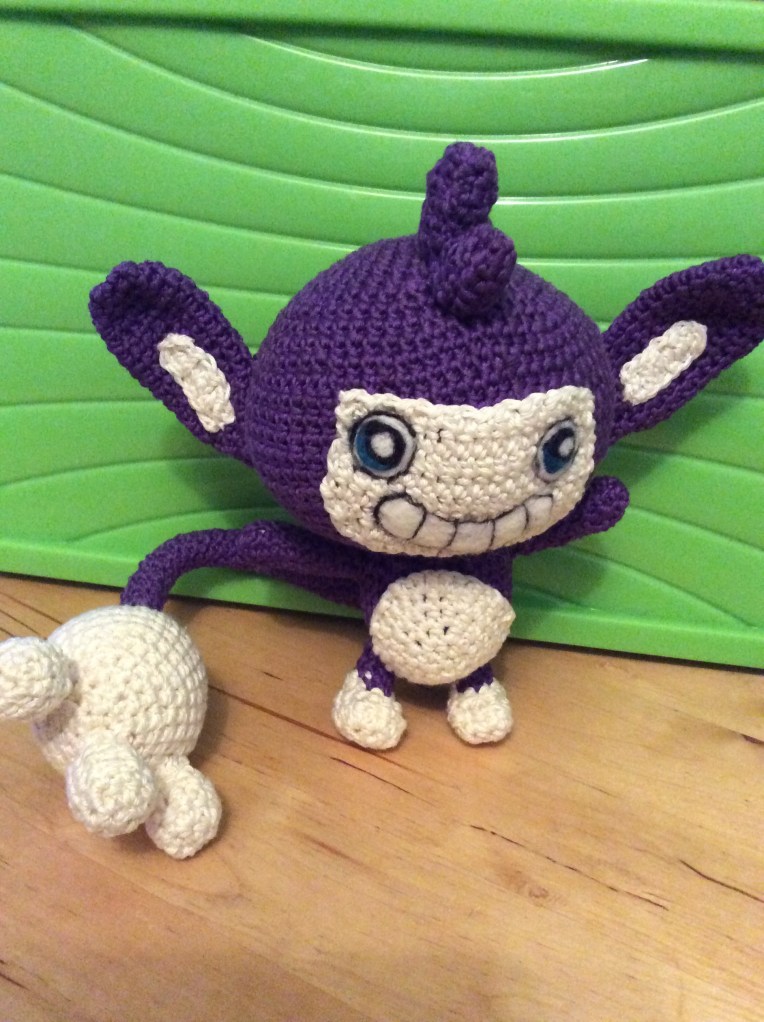
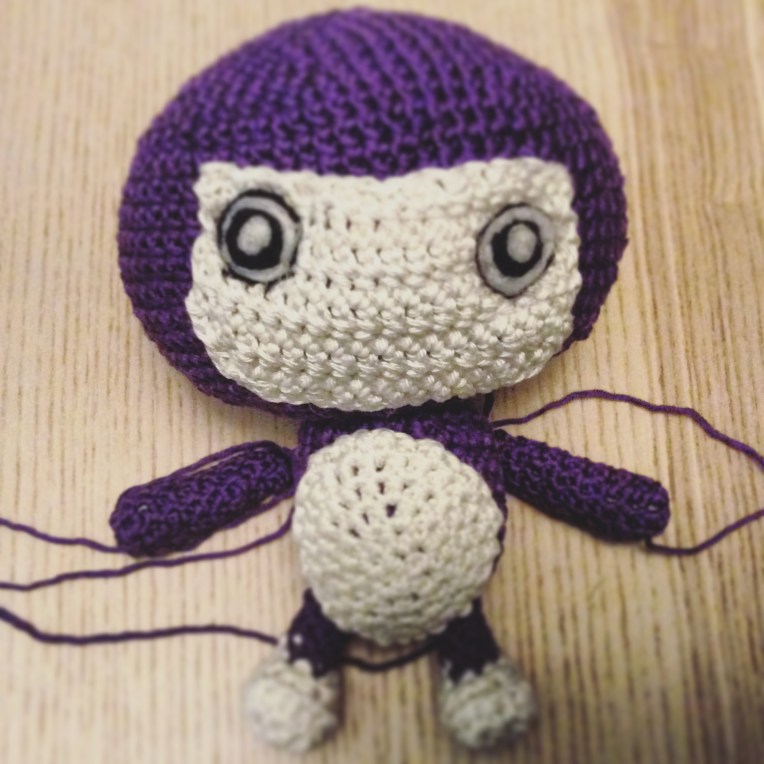
Hey hey crochet lovers. It was only when I started crocheting Pokemon that I realised how many are purple. I’m too pernickity to use the same purple on them all, so I clearly need a rainbow of purple shades to hook them all.
This rich bright purple seemed a perfect match for Aipom – the cheeky second generation ape Pokemon – who is most notable for the giant opposable hand on his tail. This makes for a super cute toy but certainly doesn’t help him stand up unaided, even with wire in his tail.
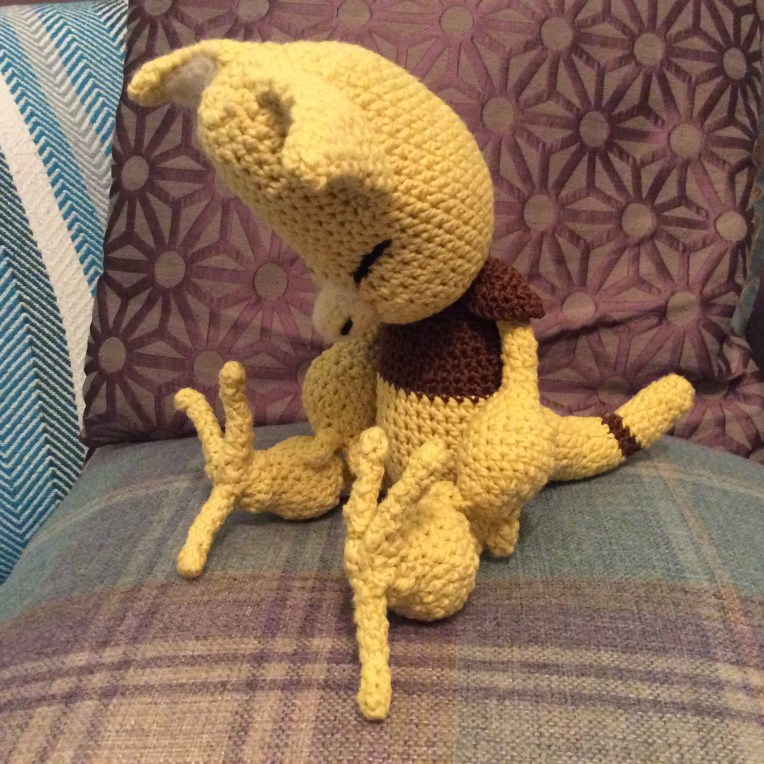
Hey hey crochet fans. For my next trick I wanted to try something a little more challenging and picked up a skein of gorgeous yellow yarn that I thought would be just the trick for an Abra. Well it certainly ended up trickier, but mainly from getting the skein completely tangled and then spending hours trying to straighten it out again!
Abra was fun to tackle and there are some nice touches to the pattern, like the shoulder pads. I’ll be honest though – I couldn’t make head nor tail of the pattern for the feet, so ended up improvising those parts. They worked out quite well, I think, so no harm done. I would have liked this pattern a little more if the head was more authentic – it’s a little too tall and bean shaped – but the overall look is excellent.
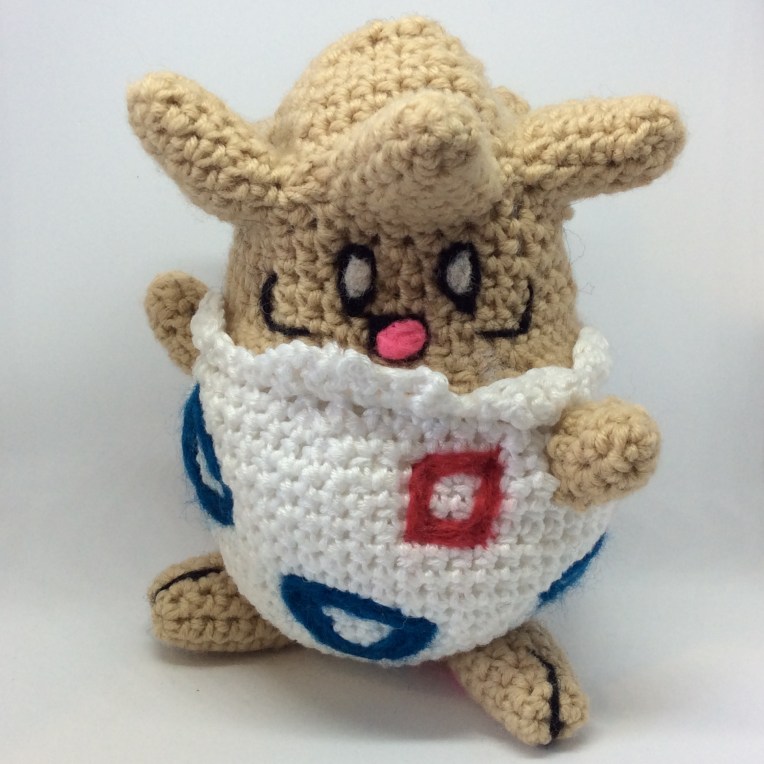
Hey hey crochet lovers. My next creation was very much inspired by my younger days watching the Pokemon Indigo League cartoon. Togepi was a cute, pocket-sized enigma in the cartoon and just too adorable to overlook when it came to crochet.
I believe this pattern arose from an official Pokemon crochet book, which adds an extra special authenticity to the proceedings. It’s not the simplest pattern I’ve tackled though, and I’m glad I didn’t attempt it before honing my skills. Mastering the cracked shell frill tackles a little work, and Togepi’s pointy crown was even tougher.
The pattern itself provides some templates for felt shapes to add to Togepi’s shell, which many will find very helpful. Needless to say I opted for needle-felting these elements, but the templates were still very helpful.
All in all, I was extremely pleased how this one turned out and he’s just so cuddly.
Hey hey crochet lovers. I’m celebrating my crocheted Pokemon anniversary this month – it’s a full year since I hooked up my first little friend, Bulbasaur. In those 12 months I’ve learned so much, improved my skills and even put together my first pattern. There have been many more projects created than I’ve blogged here so far, so I really need to spend some time catching up, as you’ve only seen about half of the little fellas I’ve crocheted so far.
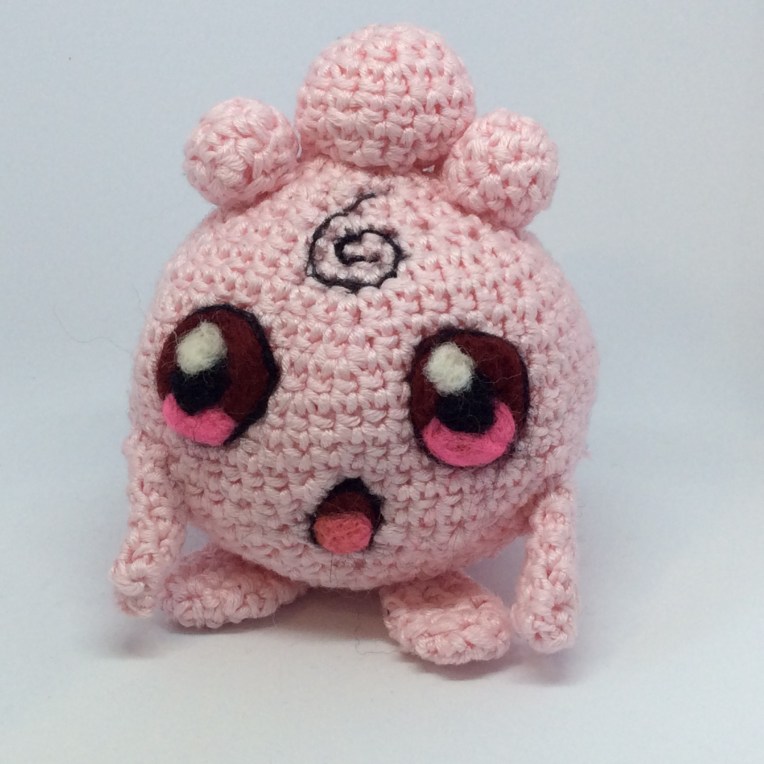
This tiny fella is one of the quickest makes I’ve had the pleasure of producing so far – he’s basically just a collection of balls and a couple of simple feet and arms – but he packs a lot of character into his tiny form. Igglybuff – the baby form of Jigglypuff – really showcases the needle-felting, which brights his bright cartoony features to life. Don’t they make a lovely pair?
Hey hey crochet lovers. Here’s another cutie that I hooked up as a last-minute gift a few months back. One of my very good friends has a special fondness for Mudkip and crochet, so this seemed the perfect present.
The only trouble I had with this little fella were the lines on his fin, which frankly came out a bit wonky. His fin is far from as perky as I would like either, but we all have our saggy days.
Hey hey crochet lovers. I hope you and all the cuddly creatures in your life are keeping well. My next little friend is a critter I created for another little friend in my life – one of my good friend’s lovely Pokemon-loving daughters. The challenge was to create her favourite Pokemon for Christmas and needless to say, what little girl doesn’t love Pikachu.
There are a lot of Pikachu patterns out there – seriously there are so many! – but I’m really happy with the one I choose, as it’s very true to Pikachu’s proportions and was well written and easy to follow. To give his tail some structure and keep the lightning bolt sharpness, I sandwiched the two layers of yarn with a little Soft and Stable bag interfacing in the middle.
The great news is that the recipient absolutely loved her new friend – complete with needle-felted Pokeball. I’m so pleased I could be a little part of her Christmas.
Hey hey crochet lovers. I’ve been busy making lots of new Pokemon over the past few months and I have quite the backlog to get online. This little fella has jumped the queue though, as it’s my very first original design and I couldn’t wait to share it online.
After brushing up my amigurumi skills on some of the excellent patterns out there I felt I knew enough to tackle this fairly simple design. The main body is a sphere and each of the vines is essentially a tight blue tube. There’s nothing too tricky to crochet but getting the right look from the vines can be more challenging, and it’s more art than science. I like to needle-felt features, so that’s what I’ve done here, but you could equally crochet some simple white circles with a small black centre if you prefer.
Tangela pattern
All elements were crocheted using a 3.5mm hook and DK yarn to create a Pokemon approximately 20cm high. You’ll need black, red and denim blue yarn plus white and black fibres for needle-felting.
Main body (make 1 in black)
Rnd 1: 8 sc in Magic Ring (8)
Rnd 2: 2 sc in each sc around (16)
Rnd 3: sc in next sc, 2 sc in next sc around (24)
Rnd 4: sc in next 2 sc, 2 sc in next sc around (32)
Rnd 5: sc in next 3 sc, 2 sc in next sc around (40)
Rnd 6: sc in next 4 sc, 2 sc in next sc around (48)
Rnd 7: sc in next 5 sc, 2 sc in next sc around (56)
Rnd 8: sc in next 6 sc, 2 sc in next sc around (62)
Rnd 9-16: sc in each sc around (62)
Rnd 17: sc in next 6 sc, dec over next 2 sc around (56)
Rnd 18: sc in next 5 sc, dec over next 2sc around (48)
Rnd 19: sc next 4 sc, dec over next 2 sc around (40)
Rnd 20: sc next 3 sc, dec over next 2 sc around (32)
Rnd 21: sc next 2 sc, dec over next 2 sc around (24)
Rnd 22: sc next sc, dec over next 2 sc around (16)
Rnd 23: dec over next 2 sc around (8)
Vines (make 20 in blue)
6 sc in a magic ring (6)
sc in next 6 sc
Continue round until vine is around 30cm long
Feet (make 2 in red)
6 sc in a magic ring (6)
Rnd 2: 2sc in each stitch (12)
Rnd 3-15: sc in each stitch (12)
Lightly stuff
Rnd 16: Dec over next 2sc around (6)
Needle-felting the eyes
1) Start by teasing out some white fibres and coiling them into a flat coin shape.
2) Poke with a needle until the fibres fuse and start to form a flat circle. Tease any loose fibres in from the outside to get a crisp edge.
3) Repeat for the second eye until you have two equally sized circles.
4) Take a small amount of black fibres, coil them tightly and place in the centre of the first eye. Use the needle to fuse the fibres into a tight pupil in the centre of the eye.
5) Repeat for the second pupil to complete the look.
Attaching the vines
The most challenging part of this Pokemon is attaching all the vines and tangling them in a pleasing way. I started by attaching a ring of five vines around the top of the body and one just below the right eye for authenticity. Continue by attaching more vines in rings at different heights.
I found it helps to tangle as you go, especially around the face, to make sure you get good coverage. Try to keep the coverage even. If you find its still a bit patchy, you may need a few more vines. Good luck!
Hey hey you lucky ducks. There are so many Pokemon to choose from – seriously, there are over 800 of the cute critters now! – but some just jump out of the ball and demand to be made. Who doesn’t love the confused little water baby, Psyduck?
Psyduck is a simple make and this Sirdar yarn was very nice to work with. I didn’t have quite as easy a time with the beak and flippers but he doesn’t seem to mind.